How To Split Stingless an Australian Native Bee Hive
This is a general guideline of how we split stingless Australian native bee hives keeping in mind that there are many opinions and ways of doing things, this is what has worked for us over the years.
If you only have one hive it is always a good idea to at least split once so you always have a spare incase something was to happen to your original hive.
Things to consider before splitting your hive
- How heavy is your hive? We prefer our hives to weigh minimum 8kg before splitting. Our empty boxes are approximately 5kg. We do also have a full list of empty hive weights here.
- What season is it? Spring or Summer are the best times to split.
- What does the weather forecast look like? Are there periods of unseasonal rain or low temperatures in the coming week/weeks? Or a heat wave expected? If so, best to hold off.
- Are you planning on harvesting honey? It is best to either split or harvest honey, not both at the same time.
- Is your hive in good condition? Is the timber showing signs of rot etc?
Before starting
Ensure you have a clean sturdy space to work on, a trestle table etc works well to make things easier or you can simply use the ground, ideally with a tarp etc to keep everything clean.
Tools and Equipment you may need
- Empty hive – Available here
- A hive splitting tool – Available here
- A head net – Available here
- Flexible paint scraper
- Utility knife with flexible blade
- Screw driver
- Masking tape
- Cloth/rag
- Baby wipes or alcohol wipes
Splitting process
We prefer to split in the morning so everything is done before things warm up as the bees don’t like direct sunlight on their hive and heat can cause the hive structure to melt. It also gives you the day to observe the hive and make sure everything has gone smoothly.
Preparation
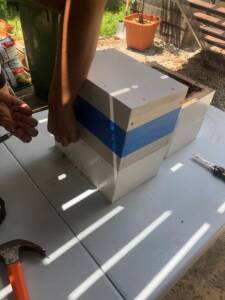
- Move full hive to table or ground where you will be splitting.
- Lay out the new hive, have the bottom separate from the middle and the top (have the middle and the top connected.
- Undo the bottoms screws of the existing hive as you will be giving the existing bottom a new middle and top and the existing middle and top a new bottom.
- Gently use the knife to separate any existing masking tape etc from where you are splitting the bottom of the hive away. Only run to the depth of the external wall.
Separating the existing hive
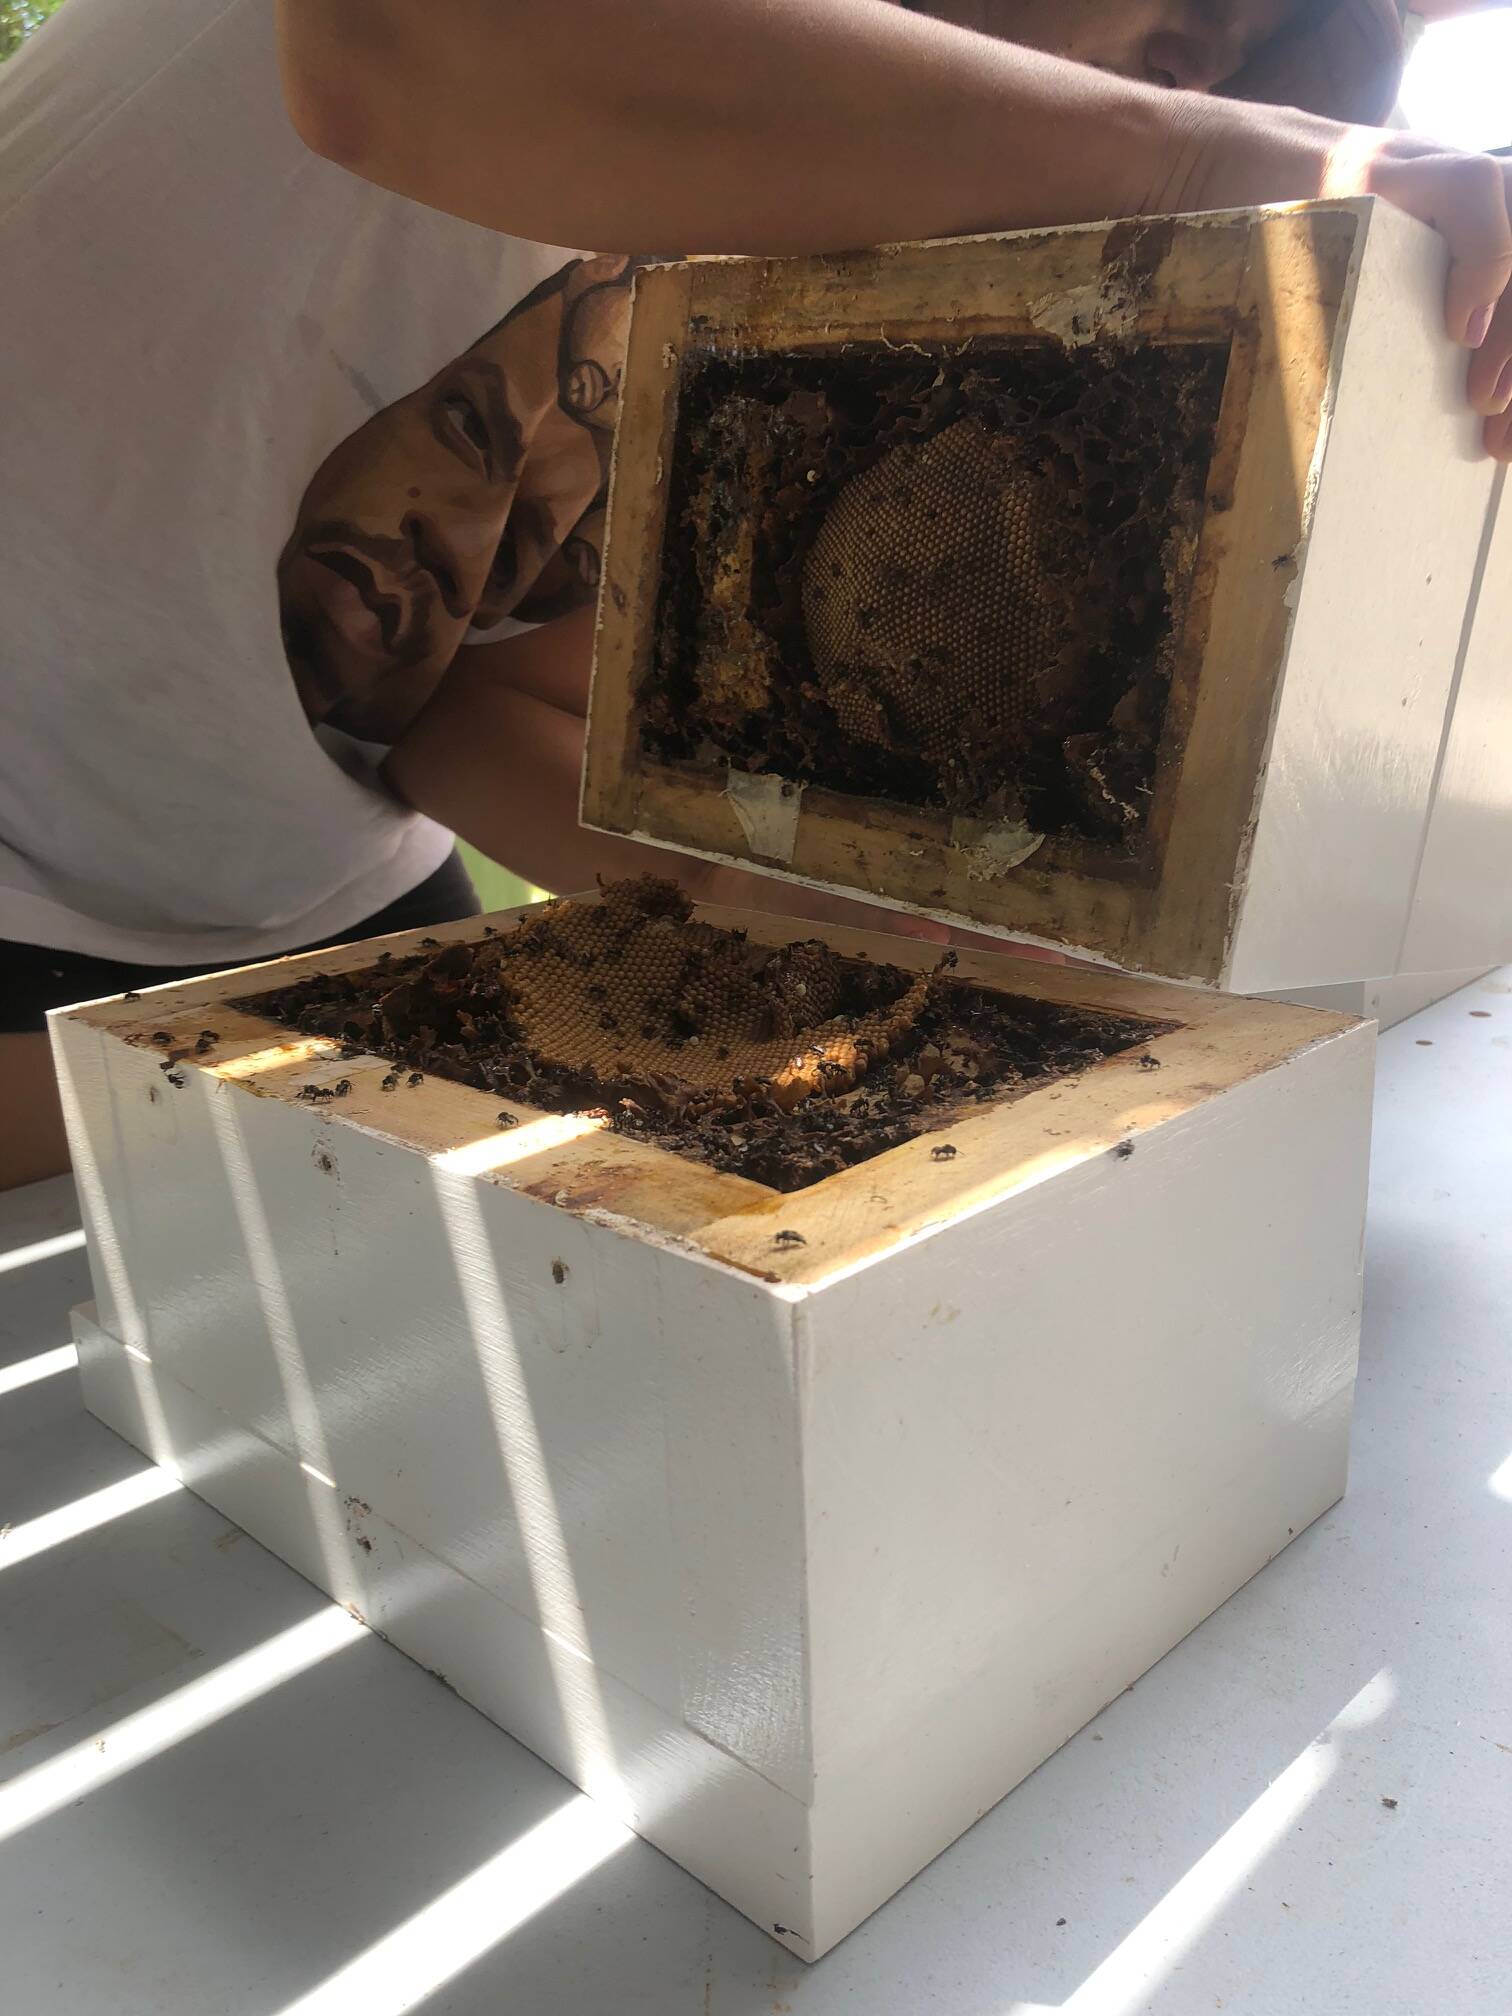
- Now use a hive tool or similar object in one of the corners of where you’re splitting to ‘pop’ open the hive. You should hear a gentle popping noise as the resin they’ve sealed the hive with separates.
- Slowly and gently fold the top part of the hive split back on itself (think of it like opening a book) stop once about 10cm ajar to observe how the brood structure inside the hive is separating, ideally we want this to be an even split. If it is roughly even, leave it to separate itself and keep in mind the spiral pattern of the Tetragonula Carbonaria one half will look less full, this is ok. If it needs some help coming apart you can gently (using fingers or knife) separate the brood structure. Working gently and with a steady hand is key.

Rejoining the split to create two new hives
- Once you have the two parts of the existing hive separated, we then move into connecting them with their new halves from the new hive. Also make sure that there is minimal spilt honey in the hives. A drain hole might be useful if your existing hive didn’t have one. Wipe the sides of the hive where the two halves will join if there is any honey here, leaving honey may attract pests.
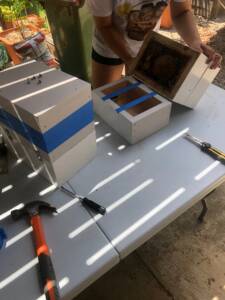
- Firstly we will work with the existing top and middle connecting to the new bottom section. Position both halves next to each other as an open book and slowly fold them together, this will minimize bees being lost in the process.
- Screw the parts together. Tape along the joins of the two new halves with masking tape to reduce chance of pests attacking. Place back where existing hive was so the worker bees have somewhere to go back to. They will set to work rebuilding the entrance structure etc to protect the hive.
- Now the existing bottom with new middle and top. Screw together, tape as you have done the other hive. This hive is now ready to be transported to a new location. Either side by side or 1km apart. The reason we would move this one is the base is strong, if we needed to transport there is no chance of structure moving around/slipping down. Check out our hive relocation guide here.
Newly split hive resting in its new location.
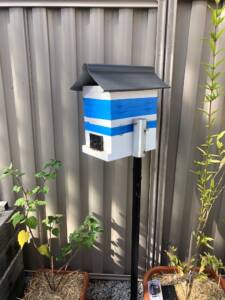
Congratulations you have completed splitting your Australian Native Bee Hive!
Have a look at our write up on budding or eduction a stingless Australian native bee hive.
We also have a Brisbane based hive splitting service. Details are here.
If you have any questions on splitting stingless bee hives please feel free to contact us on 07 3206 0552 or info@abeec.com.au